
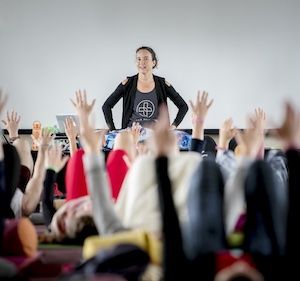


Articles, In the Press, Resources, Shoulder, Yoga Medicine® News
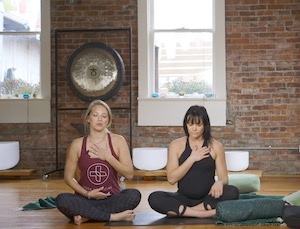
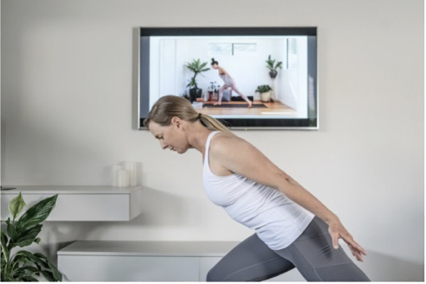
Increase Mobility: Stretch, Strengthen & Stabilize
Jessica Rasmussen-Williams for Yoga Medicine® shares two routines to strengthen and stretch your shoulders. Use these routines to increase mobility and range of motion.

Stretch, Strengthen & Stabilize Your Way Back into Mobility
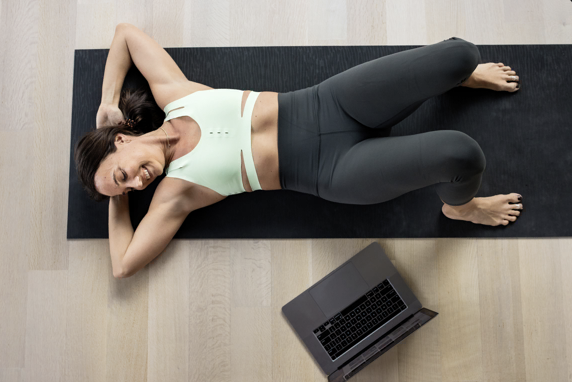
Remember the days when hanging from a jungle gym, climbing trees and throwing a ball came as easy as reaching for your keyboard to check your email, picking up your phone to make a phone call or check in on social media? In early childhood, our joints are at their maximum mobility and over time we build strength through exploration and curiosity. For example, we slowly built the stability for load bearing on the shoulder joints through “tummy time”, learning to crawl and eventually the power to pull ourselves upright to resemble the humans around us. From there, we moved to jungle gyms, trees and fields for ball throwing. Without thought, we launched ourselves across the monkey bars, reached for the next branch to pull ourselves further up the trees and played catch with our friends for hours without waking up injured or sore.
During our early teenage years, playground antics, tree climbing and ball throwing gave way to sitting at a desk in middle school without an option for the ever popular recess. Our physical priorities changed even more as we moved into high school and for some, made our way through college. As adults, many of us have unintentionally lost some of our physical curiosity and exploration as new priorities entered the game: computers and cell phones.
Posture & Lifestyle
While we begin to spend more hours of the day occupied with these computers and phones, our daily range of motion (ROM) that we practice begins to adapt to a new formation. It’s easy to get caught up in the eye catching information that these devices are putting in front of us these days. If we aren’t mindful, we can easily lose sight of the fact that we begin to round our shoulders and upper back as our head moves forward and drops to observe the luminous screen. Our posture takes the hit from this decreased ROM as the muscles in the front of the shoulder and chest tighten and the back of the shoulder and upper back strain and weaken. One day, we find ourselves feeling a bit rusty or even injured when we step back in time and attempt something outside of our new norm.
Joint Structure: A Brief Overview
The shoulder is made up of two joints, the glenohumeral and acromioclavical (AC) joints. While they are both a synovial joint, meaning that they have a joint capsule and secrete synovial fluid for lubrication, the two move in a completely different manner. The glenohumeral joint is a ball and socket joint which allows for movement of the humeral head in all directions in an ideally healthy ROM and stability. The AC joint is a gliding joint which offers up very small gliding movements and allows for the movement of the scapula on the back of the rib cage.
While the structure of the two joints differ significantly, the stabilization of both is equally important. The level of efficiency in the structure of the shoulder as a whole is negatively impacted when only one joint is stabilized. There are 2 types of stability that come into action here, passive and active.
Passive and Active Stability
Passive stability is where we are unable to energetically control the cartilage, capsule, ligaments and bone structure. Our skeletal structure and unique history of both healthy and injured joints limits our individual range of motion (ROM).
Active stability is where our mindful movement enters the playing field with muscles stretching and strengthening to keep the integrity of the joint and surrounding areas. We are able to control our destiny in preventing injuries along with wear and tear on the joint if we are able to find a balance in tension. The optimal joint positioning will make a world of difference in prevention, but how do we get there? Unless there is a genetic disposition to degeneration or abnormal bone structure, the answer is tensegrity.
Tensegrity
Stedman’s Medical Dictionary for Health Professions and Nursing[1] defines tensegrity as a concept of muscular-skeletal relationships based on the work of architect Buckminster Fuller. The concept refers to the forces of tension (provided by muscles, tendons, ligaments, and fascia) pulling on the structure (bones and joints) that help keep the body both stable and efficient in mass and movement.
The tensegrity system is responsible for managing tension and compression in the body. In the case of the shoulder, the basics of this concept suggest the integrity of the tension determines the stability of the joints. If there is a weakness on one side of the system, there will be increased tension distributed to other areas of the structure. To find those areas of weakness, first look for the tension. For example, notice your own posture. If the shoulders and upper back are rounded forward, the tension will likely lie in the pectoral muscles and internal rotators, resulting a weakness or straining in the external rotators, scapular stabilizers and erectors.
To combat this common postural limitation, we will take a look at a few ways to stretch the areas of tension, strengthen the areas of weakness and find the stability necessary to restore healthy function in the shoulder. In other words, we are looking for a community effect in the body.


Stretch
Roll up a portion of your yoga mat so it is about 3-4 inches thick. Find a comfortable place to lay down on the rolled part of the mat along the length of the spine with the back of the hips on the floor and the head resting on the roll.
Bend the knees so the soles of your feet are on the floor a little further than hip distance apart.
Then let the knees fall together to touch, or place a block between the thighs as a resting place for the legs.
Take the arms out in a T position with the palms facing up for a few rounds of breath.
If this feels like too much already, remove the mat and come flat on your back. Regardless of which option you have chosen for yourself, bend the elbows into a goal post shape with the palms facing the ceiling. Stay here for a few breaths to check in with how the body responds to this shape.
Feel the broadening of the rib cage with each inhale as that expansion stretches the pec major and minor in the front of the chest.
Find a heaviness across the front of the chest and outer edges of the shoulders with each exhale as you soften and allow the back of the rib cage and arms to get heavier on the roll and floor.
If you would like a little more, keeping the elbows at the 90 degree angle and start to glide the arms overhead until the fingers touch.
If at any point the arms raise up off of the floor, simply glide the arms back toward your starting point until the entire arm comes back in contact with the floor. Once you’re there, come back to the breath to expand on your inhale and settle into the heaviness of the exhale.


Strengthen
Find your way to tabletop on your mat with the wrist crease directly below the head of the shoulder, a micro-bend in the elbows (to avoid a hyperextension in the joint), knees directly below the hips and gaze at the floor. From here we will work to strengthen the scapular stabilizers along the side of the rib cage (serratus anterior) and in between the shoulder blades themselves (rhomboids).
First, on your exhale, press firmly into the mat as you lift the chest away from the floor.
Maintain length in the spine without rounding in the upper back by pressing forward through the crown of the head and occipital bone at the base of the skull. Find the shoulder blades wrapping themselves to the outer edge of the ribcage and imagine pressing the hands slightly forward and toward one another while keeping the shoulder head hugging into the socket of the joint itself. The hands themselves won’t actually move with this action, although, the head of the humorous will stabilize into the joint. Hold this position for three breaths.
On your next inhale, keep the same position in the arm, lower the chest and squeeze the shoulder blades back behind you.
Shoulder heads are softening away from the ears and hugging into the joint. Again, look for the length along midline by hugging the belly away from the floor to keep from extending the spine. Hold here for three breaths to check in with how that feels.
Finally, when you are ready, start to move on your breath.
Exhale to press into the palms, lift the chest away from the floor. Inhale to lower the chest, squeeze the shoulder blades back behind you. Move back and forth on your breath through 10 rounds of each. When you’ve completed those 10 rounds, make your way back to child’s pose to rest with the arms extended overhead. Repeat 3 times and see where you feel strong and even where you feel a bit of weakness.
To ramp up the intensity, feel free to walk the knees back to a modified plank or come into full plank.
This will increase the load of weight bearing in the shoulder. If you find that you are straining or losing the ability to be stable, simply back off by staying in table top until you find the strength to move to the next level. There is strengthening to be found in all options, you may just need to increase or decrease the number of repetitions to find the right combination that works for you on that particular day.
Conclusion
Now that you have a couple of tools for stretching and strengthening, work to consistently incorporate them into your personal practice. Pairing these simple, yet powerful exercises with a mindfulness of your posture and time spent with your computer will bring you the stability you need along with an increased accessibility to your natural mobility that makes way for movement without injury.
Footnotes
[1] Stedman, Thomas Lathrop (2012), Stedman’s Medical Dictionary for Health Professions and Nursing 7th Edition, New York, NY: Stegman