
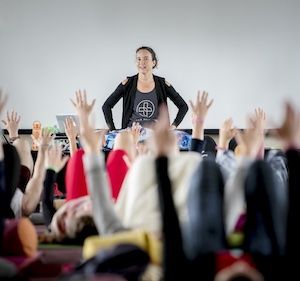


Articles, In the Press, Internal Medicine, Resources, Yoga Medicine® News
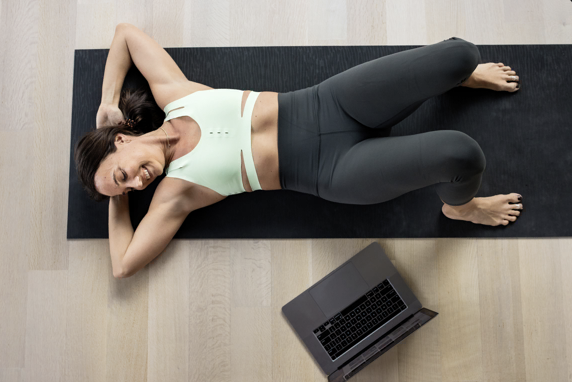
A Gentle Yoga Sequence to Target Your Nerves
Your yoga practice can be a therapeutic tool for pain management and prevention. Try this gentle sequence by Tiffany Cruikshank to target your nerves and protect their signaling powers.

With all of the new and emerging information on pain science, yoga students and teachers have the opportunity to apply modern research to their practices and help alleviate and prevent pain.
Preliminary research suggests that gentle movement of your nerves is vital to both managing pain and supporting the general health of your nervous system. The idea is that healthy nerves should be able to gently slide, elongate, and angulate within neural tissues (some nerves can move as much as ¾ inch) in order to adapt to different loads and minimize pressure that can worsen existing pain, alter sensation, or lead to new pain patterns. Sometimes, tone and tension around neural tissues can be a problem. These tissues are bloodthirsty and rely on an important pressure gradient around them to maintain adequate blood flow. So even small changes in tissue tension around a nerve can be enough to block nerve mobility and lead to compression that disrupts blood flow and nerve signaling back to the brain, contributing to pain.
To help you keep your nerves adaptable and protected, try the asana technique on the following pages based on an understanding of neurodynamics (the study of nerve movement through its surrounding tissues) and nerve pathways. We have the ability to alternately put tension on different ends of the nerve to create a movement of the nerve through the tissues, often referred to as nerve gliding. As you floss the nerve, you potentially allow it to move more freely so that it can communicate more efficiently with your brain. For example, the sciatic nerve runs through the back of your leg, so in Supta Padangusthasana (Reclining Hand-to-Big-Toe Pose) if you bend your knee (raised leg) and flex your foot, you’ll put tension on one end of the nerve (by your foot) and slack the other end (by your knee). This action draws the sciatic nerve and its branches toward your foot. Then, as you extend your knee and point your toes, you’ll reverse the areas of tension and slack. This action draws the branches of the sciatic nerve toward your knee. When you put these movements together you can encourage the sciatic nerve to move back and forth through its tissues more effortlessly. You also may down-regulate local inflammatory responses, restore healthy blood flow to the hard-working nerve, and encourage more efficient communication between your brain and body. Optimal signaling is crucial if you want your immune and nervous systems to function at their best, which is another reason to add nerve gliding to your repertoire.
The key to nerve gliding is to move gently within an easy range of motion. Since your target is the pain-free movement of your nerves, not of your muscles and fascia, you want very little sensation or stretch. It’s a great reminder that even in the physical body there’s clearly more to what we do than just sensations or the feel-good endorphins associated with them. Another thing I love about this approach is that, in addition to being a safe way to work with pain, it’s very accessible since it’s about simple, gentle movements.
Sequence – Neurodynamic Movement
To begin, pick a nerve you want to focus on and find a range of motion that’s accessible, pain-free, and with very little (if any) stretching sensation. Do 5–10 repetitions of the pose or this sequence once or twice a day. If you’re using these moves more preventatively, try rotating a few of them into your regular practice a couple times a week, and remember that in group classes there’s more than just stretch and sensation affecting the tissues. Happy flossing!
Target: Sciatic Nerve
The largest and longest nerve in your body. It stretches from your lower back to your feet.
1. SUPTA PADANGUSTHASANA (RECLINING HAND-TO-BIG-TOE POSE)
Not only is the sciatic nerve the largest and longest nerve in your body, it’s also the most commonly irritated. Flossing this nerve is a great place to start, and return to again and again.
A Lie on your back with your right knee bent and your right foot flexed to move your sciatic nerve toward the end of your foot.

B Then, extend your right knee (but there’s no need to straighten it completely), and point your foot to move your sciatic nerve toward your spine. Find an easy, pain-free and stretch-free range of motion.

Repeat 5–10 times. Switch sides.
Target: Spinal Cord
The tube of your central nervous system that extends from your brain stem to your lower back.
2. MARJARYASANA–BITILASANA (CAT-COW POSE, VARIATION)
Flexion of your spine puts more pressure on your spinal column and nerves, so for this pose you can use opposite movements of your cervical spine (neck) to create a more centralized flossing effect on your spinal cord. This one may feel strange if you’re familiar with Cat-Cow Pose, but it’s a great way to target the central nervous system.
A As you come into Cat Pose, look up to take your neck into extension.

B Then, move into Cow Pose as you tuck your chin to bring your neck into flexion. Find an easy range of motion.

Repeat 5–10 times. Then, switch sides.
Target: Femoral Nerve
Runs along the front of your hips and thighs.
3. SPHINX POSE, VARIATION
A From Sphinx Pose, simply lift one leg off the ground as you look up.
B Then, lower your leg as you tuck your chin. Find an easy range of motion to help rejuvenate the femoral nerve, which is important for the health of your mid-lower back (second to fourth lumbar vertebrae) and front hip.

Repeat 5–10 times. Then, switch sides.
Target: Femoral Nerve & Sciatic Nerve
Get two nerves in one move.
4. ANJANEYASANA (LOW LUNGE)
The back-leg action targets the femoral nerve on the front of your hip, and the front-leg action targets the sciatic nerve on the back of your leg.
A Start in Low Lunge with your left knee on the ground as you lift your head to look straight ahead.

B Then, lean your hips back to straighten your right leg (no need to straighten completely), round your back, and tuck your chin.

Repeat 5–10 times. Then, switch sides.
Target: Sciatic Nerve
This technique is for people who are using nerve flossing as a preventative practice.
5. URDHVA PRASARITA EKAPADASANA (STANDING SPLITS, VARIATION )
This version of Standing Splits offers a more challenging and functional approach for those who are pain-free.
A For Standing Splits on your right side, bend both of your knees and tap your left knee to your right calf as you look forward.

B Then, straighten your legs and lift your left leg as you come onto the ball of your right foot and tuck your chin. Find an easy range of motion.

Repeat 5–10 times. Then, switch sides.
Target: Median Nerve
This nerve runs through your arm and hand.
6. VIRABHADRASANA II (WARRIOR POSE II, VARIATION)
The median nerve is the most commonly irritated nerve in your hands and arms. Since pressure on the median nerve is what causes the symptoms of carpal tunnel syndrome, this move can be helpful for this condition and other wrist pain.
A From Warrior II on your right side, take your arms out to your sides with your palms facing forward (toward the long edge of the mat). Take your right fingers back so that your palm faces the front of your mat. Bring your left fingers forward as you lean your head to the right.

B Then, switch positions with your hands and head so that your right fingers are pointing forward and your left fingers are back as you lean your head to the left. Find an easy, pain-free range of motion.

Repeat 5–10 times. Then, switch sides.
***
Find the original article on Yoga Journal.