
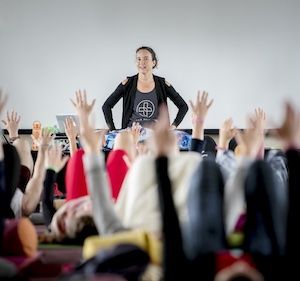


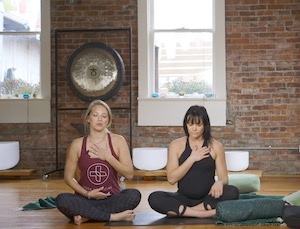
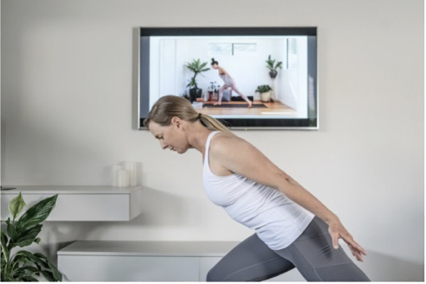
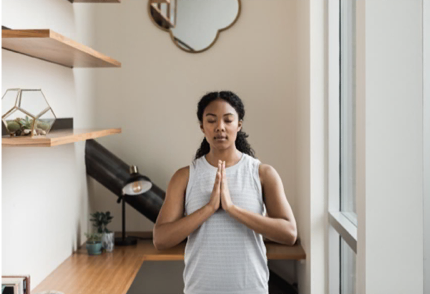


Articles, Hip, In the Press, Jenni Tarma, Resources, Yoga Medicine® News
16 Simple Stretches to Give Your Hips Some Much-Needed Relief (And Strength, Too!)
By Kaitlin Vogel for Parade.

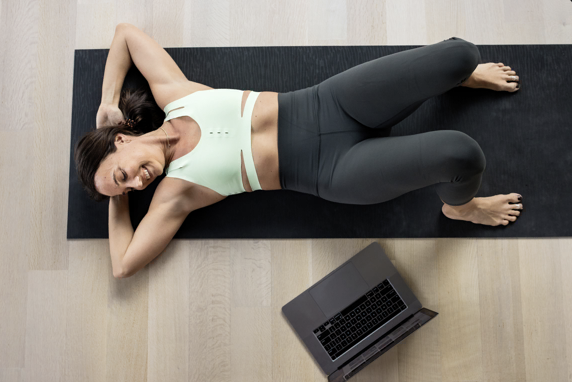
If you’re sitting at a desk for most of the day, you’ve likely felt tightness in your hips at some point or another. And unlike tension in your neck and shoulders (which also comes from sitting too long), hips are one of those areas you don’t always realize is tight right away.
That is, until one day you get up and hear a sudden crack or pull a muscle.
As it turns out, hip issues aren’t limited to people who are older in age. In fact, studies show hip replacements are on the rise, most commonly seen in adults in early middle age.
“When people experience ongoing hip flexor tightness, the natural instinct is to stretch the tight muscles,” says Jenni Tarma, a ERYT500, a Yoga Medicine® Therapeutic Specialist, and a lifelong athlete. “While this can alleviate the sensation of tension in the short run, it doesn’t provide much long-term relief. In fact, strengthening the muscles through their entire range of motion, and making sure they’re able to engage in a wide variety of joint positions is what will mitigate chronic tightness.”
Tarma suggests thinking about it this way: while a quick stretch will certainly give a little more range of motion right away, you really want to take ownership of that range in order to keep it, and turn it into something you can functionally use. Which is where the strengthening comes in!
Best Hip Flexor Stretches
Supine Hip Flexor Exercise
From Tarma:

How to do it:
- Lie on your back and place a yoga block under the back of your pelvis- the lowest height setting works great, and if you don’t have a yoga block, use a folded blanket to give you a couple of inches of height instead.
- Loosely hug your knees towards your chest, and notice how your low back naturally rounded and slightly dropped as part of the action: your task will be to keep the lumbar spine in this slightly flexed position, and not allow it to lift away from the floor.
- Keep hold of one leg, and slowly begin to extend the other out in front of you while keeping the low back fixed in place. You’ll pause with the leg either parallel to the floor, OR when you start to feel a light tug in the front hip crease, whichever happens first. This is your signal that the hip flexors are now under a little bit of tension!
- To train function near this end range, do a small, controlled pulse up and down of the leg. Just a couple of inches in both directions is perfect, and the slower you go, the better: you don’t want to bounce or swing the leg.
- Take a passive release by letting the leg release all the way down to the floor. Here, you can let the low back arch a little, as long as there’s no uncomfortable compression. If the low back does feel crunchy here, just bend the knee to find a more manageable sensation of stretch instead.
- Repeat on the second side, and notice if there are discrepancies in range of motion or muscle endurance!
Hip Flexor & Quad Strength Lunge
“This one is surprisingly challenging, and as a bonus, it also targets the quadriceps,” Tarma explains.

How to do it:
- Set up in a shallow low lunge: the knee and ankle of the front leg are stacked on top of each other, and the knee and hip of the back leg are stacked up too.
- Untuck your back toes so the top of your foot is resting flat against the floor.
- Slightly tuck your tailbone so your low back lengthens/ rounds a little: your job is to maintain this position throughout, and not allow the low back to arch. You might already feel a little productive tension in the hip crease of the back leg!
- Next, start to actively press the back foot down into the floor as though you’re attempting to lift the knee off the floor. If you’re successfully maintaining the tuck of the tailbone and the position of the low back, this should feel fairly challenging! The front of the back hip and thigh should feel very active here. You can either stay and maintain this action for as long as you can tolerate it, or if it feels manageable, try to briefly hover the back knee off the floor.
- To release, come into a passive lunge: let the hips drop forward and down and the legs relax before repeating on the second side.
High Lunge
From Tara Stiles, wellness expert, bestselling author, and the founder of Strala Yoga.

How to do it:
- Start standing with your feet hip-width apart.
- Gently step one leg back and a little out to the side so you are stable. Put a little bend in your knees.
- Take a big inhale and lift your arms and whole body upward.
- Exhale and settle right in your center.
- Hang here for 5 long, deep breaths.
- Go for the other side.
Upward-Facing Dog
Recommended by Stiles:

How to do it:
- Crawl down to the ground on all fours.
- Shift your body forward and slide your knees back.
- Let your hips sink down and gently move a bit side to side, lingering where you feel a bit tight or stuck.
- Hang here for a few big breaths and rest back on all fours.
Sitting with Bottoms of Feet Together
Recommended by Stiles:

How to do it:
- Gently make your way to sitting on your hips.
- Bring the bottoms of your feet together.
- Rest your hands on the ground behind you.
- Take a big inhale and open up.
- Hang here if this feels great or gently crawly yourself forward.
Single Leg Stretch
Recommended by Stiles:

How to do it:
- Tuck one leg in toward your center and stretch the opposite leg out to the side.
- Rest your forearm on the ground inside of your stretched leg.
- Stretch your opposite arm up. Explore around areas that feel a bit stuck.
- Hang here for a few long, deep breaths and go for the other side.
Both Legs Out Stretch
Recommended by Stiles:

How to do it:
- Bring both legs out to your side where you feel a good stretch but no force or pain.
- Crawl your hands behind you and open up the front of your body with a big inhale.
- Either hang here for a bit if this feels like a nice opening or gently crawl yourself forward and hang here for 5 long, deep breaths.
Pigeon Pose
Recommended by Stiles:

How to do it:
- Bend your right knee and sit onto your right hip.
- Lean toward your right side so much that your left leg can slide around behind you.
- Roll around here until you feel a good stretch but no pain.
- Hang here if this feels like a good stretch or crawl back with a big inhale and bring yourself forward to rest toward the ground with a long exhale.
- Hang here for 10 long, deep breaths and go for the other side.
Kneeling Hip Flexor Stretch
From Michael Matthews, fitness and nutrition expert and the author of the upcoming book Muscle for Life: Get Lean, Strong, and Healthy at Any Age.

How to do it:
- Place a yoga mat, pillow, or another cushion on the floor, and rest your left knee on top of it with the top of your left foot resting flat on the floor.
- Place your right foot on the floor in front of you so that your right shin is straight up and down vertical.
- Place your hands on your hips or on your right knee, keep your back straight, and push your hips forward. You should feel a deep stretch on the front of your left hip flexors.
- Hold this position for 30-to-60 seconds, then switch legs and repeat 2 or 3 times.
Psoas Quad Stretch
From Matthews:

How to do it:
- Place a yoga mat, pillow, or another cushion on the floor about one foot in front of a bench, chair, or another surface that’s about 12-to-18 inches off the floor.
- Rest your left knee on top of the cushion and place the top of your left foot on the surface.
- Place your right foot on the floor in front of you so that your right shin is straight up and down vertical.
- Place your hands on your hips or on your right knee, keep your back straight, and push your hips forward. You should feel a deep stretch on the front of your left hip flexors.
- Hold this position for 30-to-60 seconds, then switch legs and repeat 2 or 3 times.
Scorpion Stretch
From Matthews:

How to do it:
- Lie down on your stomach with your arms pointing straight out to the sides and your legs in line with your torso.
- Without moving your upper body, lift your left foot off the floor into the air, and bring it as close to your right hand as possible (if you’re particularly flexible, you may even be able to touch your hand).
- Alternate sides for the desired number of reps.
Aim for two to three sets of 10 reps on each side. To make this stretch more challenging, hold your foot as close to your hand as you can for 10 seconds during each rep.
Barbell Back Squat
“Although the barbell back squat is generally thought of as “quads” exercise, it also trains your hip flexors, glutes, and lower-back muscles better than nearly any other exercise,” says Matthews.

How to do it:
- Position a barbell in a squat rack at about the height of your breastbone.
- Step under the bar, pinch your shoulder blades together, and rest the bar directly above the bony ridges on the bottom of your shoulder blades.
- Lift the bar out of the rack, take one or two steps backward, and place your feet a little wider than shoulder-width apart with your toes pointing slightly outward.
- Sit down and remember to keep your back straight and push your knees out in the same direction as your toes throughout each rep.
- Stand up and return to the starting position.
Aim for 3 sets of 8-to-12 reps at least once per week, rest 2-to-3 minutes between sets, and try to add weight every time you do this exercise.
Dumbbell Lunge
“The dumbbell lunge both strengthens and stretches your hip flexors with every rep, making it a very time-efficient way to improve your mobility and strength,” Matthews explains.

How to do it:
- Stand up straight with both feet about shoulder-width apart.
- Take a long step forward with your right foot—about two to three feet—and, with most of your weight on your front foot, lower your body until your left knee touches the floor.
- Then reverse the motion by pushing off the floor with your front foot and leaning slightly backward, allowing your legs to straighten. Once you’re standing, bring your right foot back to the starting position, and then repeat the exercise with your other foot.
Aim for three sets of 8-to-12 reps at least once per week, rest 2-to-3 minutes between sets, and try to add weight every time you do this exercise.
A 3-Step Dynamic Stretching Series
“This will open the hip flexors in all directions,” says Kaleen Canevari, Pilates instructor and Founder of Flexia Pilates.

How to do it:
- Come to a kneeling position with your right leg forward and your left leg back.
- Tuck your pelvis and engage your left glute, so you feel a subtle stretch down the front of your left leg.
- Gently glide forward and back moving in and out of a deeper hip flexor stretch.
- Try to maintain a pelvic tuck as you do this.
- Perform for 5 repetitions.

- Open your right leg out to a slight diagonal, tuck your pelvis, and engage your left glute.
- Gently glide forward and back moving in and out of a deeper hip flexor stretch feeling how this is reaching a different angle of your hip flexor.
- Try to maintain your rib to pelvic connection as you do this.
- Perform for five repetitions.