


Articles, In the Press, Rachel Land, Resources, Yoga Medicine® News
These Advanced Yoga Poses May Look Intimidating, But You’ve Got This
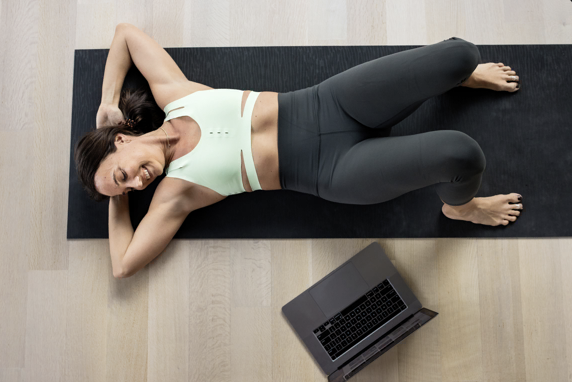
By Jessica Estrada for Well + Good.

If you’re a devoted yogi who never misses a class, you know that even once you nail the five basic yoga poses, class never exactly gets easy. There are always alignment and breath adjustments to focus on in order to deepen your practice. But one surefire way to keep things feeling fresh and continue building your strength and flexibility is to add more advanced yoga poses to your flow.
As their name suggests, they are usually reserved for seasoned yogis because they’re more challenging to do than your standard downward-facing dog and sun salutations. So if you’re up the challenge, keep reading to learn how to do five advanced yoga poses step by step. And yes, that includes how to nail the elusive headstand.
1. Extended Triangle Pose
The extended triangle pose, also known as Utthita Trikonasana, may look simple, but it’s surprisingly difficult. It requires a lot of strength and flexibility, but the extra effort is worth the benefits.
Rachel Land, a Yoga Medicine Therapeutic Specialist, says the pose helps build leg and hip strength, increases hamstring and adductor flexibility, activates the side body, and opens up the chest. Here are Land’s instructions for doing the extended triangle pose:
- Starting in warrior II with your right knee bent, straighten your right leg and hinge at your hip to connect your right hand to your right thigh, calf, or foot.
- Press into the ball of your front foot and micro-bend your knee, feeling your thigh and calf muscles engage around the joint.
- Drive down through the outer edge of your left foot and engage the left side of your waist, as if you’re trying to side-bend toward the ceiling, encouraging your right hand to hover off your leg rather than resting there.
- Finally, draw your left shoulder blade back toward your spine to help turn your chest toward your mat’s long edge. Take a few breaths here and then repeat on the other side.
2. Headstand
Mastering the art of the yoga headstand is no easy feat, but you can get there (yep, even you naysayers) if you follow this step-by-step process and go slow, preferably with an instructor to spot you. Here’s how yoga teacher and mindset expert Melissa Ruiz recommends doing it:
- Start in downward-facing dog.
- Drop your knees and forearms.
- Interlace your fingers and push the front of your head into your interlaced fingers.
- Find the portion of your head that feels most comfortable to balance. Go slow.
- Activate your forearms, tuck your toe, and lift your hips.
- Once you have a stable and comfortable foundation, walk your feet closer to yourself.
- Bring one knee to your chest and then the other. Stay here and find balance. Once you’re ready, extend both legs into a headstand.
- Focus your gaze on something that’s not moving and activate your core and forearms. Don’t forget to breathe.
3. Crow Pose
Want to step up your upper body strength? Give the crow pose a go. Other unexpected benefits include increased strength in your abs, hip flexors, adductors, and hamstrings, Land says. Not to mention conquering the fear of falling on your face and learning how to trust yourself. Follow Land’s step-by-step instructions below:
- Start in a standing forward fold. Bend your knees and plant your palms shoulder-width apart on your mat.
- Spread your weight evenly over all 10 knuckles, all 10 fingertips, and across both palms.
- Bend your elbows, then rise to your tiptoes and wrap your knees around your upper arms’ outsides.
- Magnetize your thighs and elbows toward the midline as if you’re squeezing a beach ball between them.
- Scoop your navel toward your spine and look forward past your fingertips.
- Follow your gaze, leaning forward over the fulcrum of your hands until your head and shoulders start to balance the weight of your legs.
- When you feel light on your tiptoes, squeeze your heels toward your sit bones, and take flight.
4. Bird of Paradise
The bird of paradise standing pose is no joke. It requires a serious mix of strength, balance, and flexibility, which makes it perfect for advanced yogis. Find the step-by-step from Ruiz here:
- Begin in extended side angle pose with your left arm pointing toward the floor and reaching the right arm above your head away from your body, creating a straight line from the bottom of your foot toward the tip of your fingers.
- Take your left arm and needle it through your leg.
- Bring your top arm behind your back, taking a half bind, and interlace your fingertips.
- Rotate the heart up and meet your back foot with your other foot towards the top of your mat.
- Start shifting your weight towards the right foot (or the leg that is not holding the bind).
- Take the leg that’s holding the bind, and get on your tiptoes.
- Use the bind you’ve been holding to slowly start lifting your chest and, eventually, your leg.
- To take it up a notch, you can also extend the leg holding the bind and get into a standing split. If you’ve made it this far, you’re the real yoga MVP.
5. Wheel Pose
Given that we’re so used to being hunched over our phones and computers for hours on end, backbends like the wheel pose can provide great relief—but can be difficult to master. The wheel pose requires an extreme range of motion in shoulder flexion and wrist, spine, and hip extension. “It creates a rare opportunity to strengthen the back body and arms while stretching the chest, side ribs, abdomen, and hip flexors,” Land says. “It also reminds us that it takes strength to allow space for vulnerability.