Anatomy, Articles, Hip, In the Press, Myofascial Release, Resources, Yoga Medicine® News
Why Weak Hip Flexors Can Be A Pain In The Butt
Gry Bech-Hanssen discusses the benefits that strong and functional hip flexors could have on your backside and range of motion.

Are you a pigeon lover like me? Would you love to skip the standing poses and go straight to pigeon pose?
Pigeon and other hip opening poses may feel great while you’re in them, but often the relief is only temporary. If this is the case for you, do you ever question why these deep muscles feel so tight all the time? They could be compensating for weak or inhibited hip flexors.
Even if you consider yourself an active person and do yoga #everydamnday, chances are you also spend a lot of time sitting. Excess sitting can cause hip flexors to shorten and reduce the ability of muscles and fascia to glide against each other during movement.
To better understand how these important hip flexors can influence your backside, let’s take a closer look at the anatomy.
The powerful iliopsoas muscle is often referred to as one, but is really two different muscles; the iliacus and the psoas. The iliopsoas travels north from the lesser trochanter on the upper inner thigh bone and crosses the rim of the pelvis. But from there iliacus inserts on the iliac crest and the psoas on the spine, which gives them slightly different functions. Stickiness between these two muscles can result in one of them (often iliacus) overworking and both (especially psoas) becoming less effective.
The psoas is a powerful flexor of the hip joint, but maybe even more importantly, it’s a dynamic stabilizer of the lumbar spine. Connecting your legs to the lower back, the psoas inserts on the bodies and transverse processes of all the vertebrae of the lumbar spine to support the curve of the lower back on both sides.
Iliacus covers the whole medial surface of your hip bones and also connects to the sacro-iliac joint. This deep layer of muscle needs to engage early in movement to stabilize both the hip joint and the SI-joint.
As you can see, the hip flexors not only move the legs, but also to stabilize the pelvis and lower back. They need to be both supple and strong.
Supporting the hip joint from behind are the external rotators, often referred to as ‘the deep six’ which are located in your seat. These are the muscles you target in pigeon pose. Underlying the powerful gluteus maximus, your most important hip extensor that forms the contour of your bum, these relatively small but important six muscles just posterior to the hip joint connect the sacrum and the lower end of the spine to the top of the thigh bones. These deep six are the pirifomis, the obturator internus and externus, the gemellus superior and inferior, and the quadratus femoris. The piriformis, the largest of the six, also connects to the SI- joint and stabilizes the pelvis on the legs in weight bearing-poses.
There is an important connection between the psoas and the piriformis since they support the lower part of the spine both vertically and horizontally. If the psoas is underactive and the iliacus overworked, the smaller stabilizers in the back will try to compensate for the resulting lack of stability in the area.
Translating The Anatomy To Your Practice
In our yoga practice, it can be tempting to focus on hip flexibility, and forget about the equally important strengthening and stabilizing work. So even if your hip flexors feel tight, that doesn’t necessarily mean they need to get longer. In fact, most yogis have more than enough range of motion in hip extension. In most cases, the hip flexor muscles need mobilizing and strengthening more than they need lengthening.
And just as stretching the hip flexors can be counterproductive, so can releasing those tight external rotators without attending to the underlying problem of inhibition or weakness. Making sure your ilipsoas is strong and functional could over time lessen the load on those cranky rotators in the back and even improve your range of motion.
Try This Program To:
STIMULATE
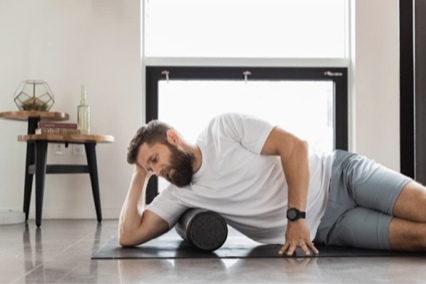
If your hips feel tight or restricted, consider self-myofascial release as a way to release and encourage communication through the tissues. Myofascial release (MFR) is a term describing different techniques aiming to restore mobility between muscles and connective tissue by applying gentle pressure using balls, rollers, blocks and other props.
I like to think of this exercise as a wake-up call for the nervous system, reconnecting the muscles and the brain. Using two tennis balls or therapy balls to release and stimulate the iliacus and psoas muscles can help them move better independently of each other. The intensity level of this exercise should be moderate and tolerable. More is not necessarily better here. To make the sensation less intense, lighten the pressure on the balls, or make the surface you are rolling on bigger by using two balls at each pressure point instead of one.
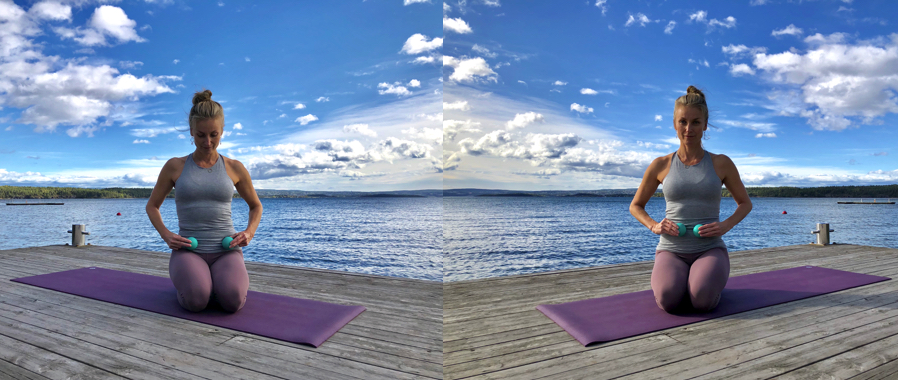
Lying prone on the mat, place a block on its lowest level on the floor between your feet behind you. Place the two balls just medially to your front hip bones (ASIS) on each side. The balls will be in contact with the broad iliacus muscle covering the inside of your two hip bones. Rest your forehead on your hands and relax over the balls for a moment as you breathe into your belly. If you feel any sharp, burning or gassy sensation, try moving the balls slightly, or skip this exercise.
After letting the balls sink in for 5-10 breaths, you can explore lifting up onto your elbows into a sphinx. You are now starting to stretch the psoas muscles while pinning the Iliacus (see image below).

If, after a few breaths here, you want to move on, curl your toes under behind you and start to lift your knees and thighs off the floor as you extend the legs (see image below).

Lastly, if you feel comfortable, you have the option to place your feet on the block and again gently lift the front of the legs off the floor. Coming out, lower your legs and upper body to the mat, remove the balls and relax here a few moments (see image below).

To access the psoas muscle more directly, place the two balls an inch below the belly button and about two inches apart. Follow the same procedure; first just relaxing and breathing over the balls, then lifting up onto your elbows, then extend the legs with the balls of your feet on the floor or on the block.
DIFFERENTIATE
Before moving on to the next exercise, do a few bridge rolls. Lift one vertebra at a time as you roll up from the tailbone to your shoulders. Picture your psoas muscle gliding over the underlying iliacus as you slowly roll the spine up and down from the mat.


ACTIVATE
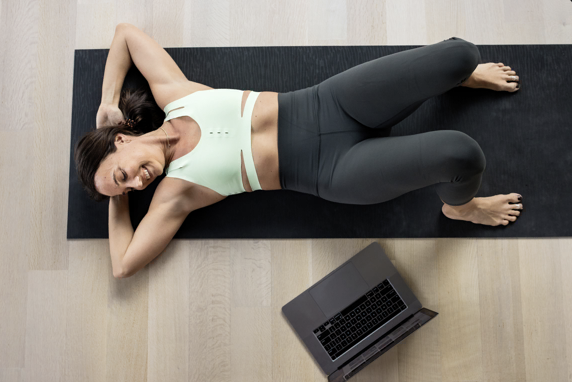
Leg hovers on block – eccentric loading. Lay on your back with bent knees, lift your hips off the mat and place a block on its middle or lowest height under your sacrum. Spend a few moments here connecting to your core muscles by actively cinching around the waist and lengthening your lower back with each exhale. Try to maintain this activation through the entire exercise, integrating the core and hip flexors.
On an exhale, lift your feet off the floor, keeping your knees bent. Your hands can rest on your lower belly to monitor the core activation. Let your left knee rest towards your chest as you extend your right leg toward the ceiling.

Again on an exhale, start to lower the right leg forward toward the floor until you start to notice a subtle stretch across the front hip or until you can still glimpse your toes. Stay and inhale before lifting the leg 3 inches on an exhale. Lift and lower the leg 10-15 times here. I like to move the leg at slightly different vectors to target different fibers of the muscles. If you externally rotate the leg slightly, do notice if your external rotators start firing.

For the last time on each leg lower into a stretch. Experiment with keeping your core and the leg active or relaxed to find the best stretch for you. You can deepen the stretch by reaching the same side arm along the floor over your head. Stay for 5 breaths, or as long as you are comfortable. Engage your abdominals to lift your leg back up and bend both knees towards the chest.
Repeat on the other side.

INTEGRATE
With your hips still on the block, do a few small toe dips alternating legs to balance and integrate the left and right sides. To finish, place both feet back on the floor, lift your pelvis and remove the block. Roll down through your spine as you exhale, letting one vertebra at a time meet the floor.

RECALIBRATE
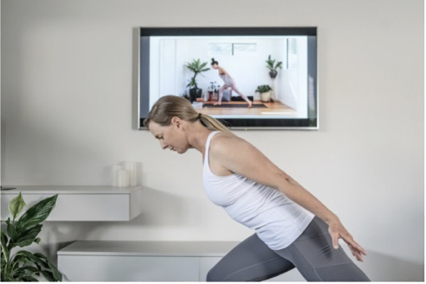
Activate your crescent lunge. Instead of going into your deepest stretch, lift up and out of it slightly. Bend the back knee, and gently activate the hip flexors as if trying to pull the back leg forward through the floor. Try to equalize the sense of lengthening and activating the muscles.
To mobilize the psoas in relation to iliacus here: try doing cat/cow with the upper body while keeping the lower body in runner’s lunge.


Mindfully activating and eccentrically loading the hip flexors in lunging poses will build strength at end range, while safely and effectively lengthening the muscles. You get the added benefit of protecting the joint and preventing damage to the joint capsule and labrum, which are more vulnerable at the front of the joint.
Add all or a few of these elements to your regular practice as needed to restore and maintain the muscles’ ability to glide over each other, balance mobility, and strength on all sides of the hip joint and gain greater control at end range of motion.

